

Introduction
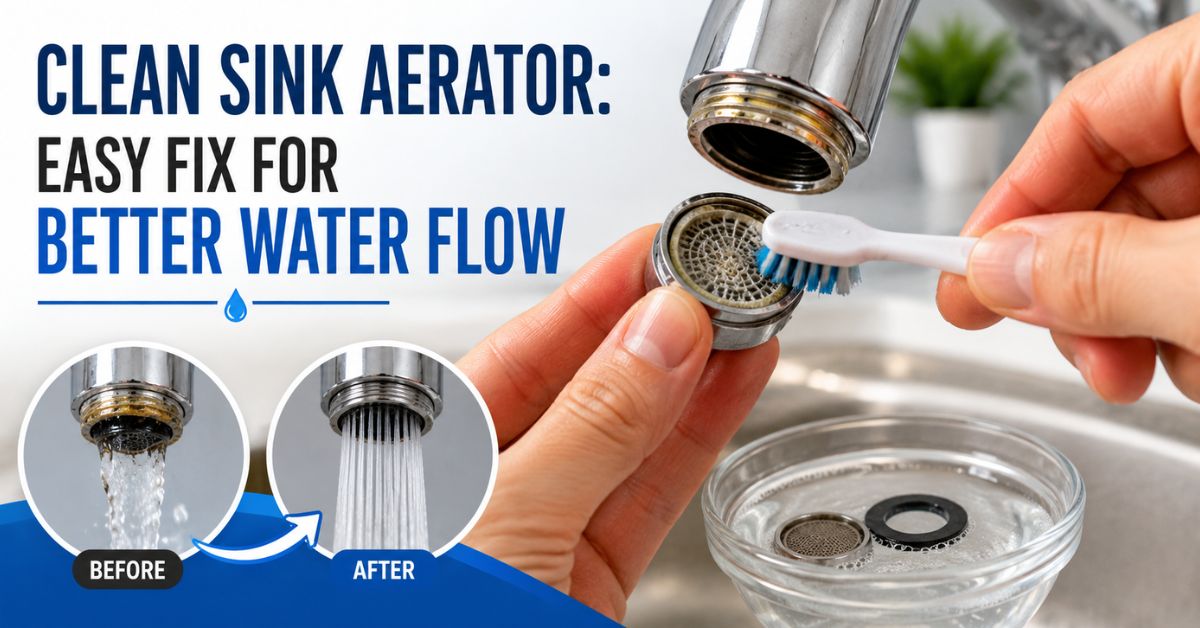
I ignored my kitchen faucet for months because the weak water pressure seemed like a plumbing issue. One afternoon, I removed the tiny screen at the faucet tip and found it packed with mineral buildup and greasy debris. After a quick rinse and soak, the water flow returned instantly. Since then, I make it a habit to clean sink aerator parts every few weeks instead of waiting for problems.
A sink aerator is the small attachment at the end of your faucet. It controls water flow, reduces splashing, and helps save water. Over time, hard water minerals, soap residue, and tiny particles clog the mesh screen. When that happens, water pressure drops and the faucet may spray unevenly.
The good news is that you do not need expensive tools or plumbing experience. Most homeowners can handle this simple task in less than 20 minutes with items already sitting in the kitchen cabinet.
What Happens When You Don’t Clean a Sink Aerator?
A clogged aerator slowly affects daily kitchen or bathroom use. At first, the water stream may seem weaker than normal. Then the faucet starts spraying sideways or making sputtering sounds.
Here are common signs that tell you it is time to clean sink aerator parts:
- Uneven water spray
- Low water pressure
- Strange sputtering noises
- White mineral crust around the faucet
- Water flowing sideways
- Tiny black particles coming from the tap
In my old apartment, the bathroom faucet became so slow that washing hands felt annoying. I almost called maintenance before realizing the aerator was the real issue.
Tools and Supplies You Need
You do not need professional equipment for this job. Basic household items work perfectly.
Simple Cleaning Supplies
- White vinegar
- Small bowl or cup
- Old toothbrush
- Dish soap
- Soft cloth
- Pliers (optional)
- Toothpick or sewing needle
If the aerator is delicate or has a decorative finish, wrap a cloth around it before using pliers. That prevents scratches.
How to Remove a Sink Aerator Safely
Before you clean sink aerator components, remove the attachment carefully to avoid damaging the threads.
Step 1: Turn Off the Faucet
Make sure the water is fully off. You do not need to shut off the house water supply.
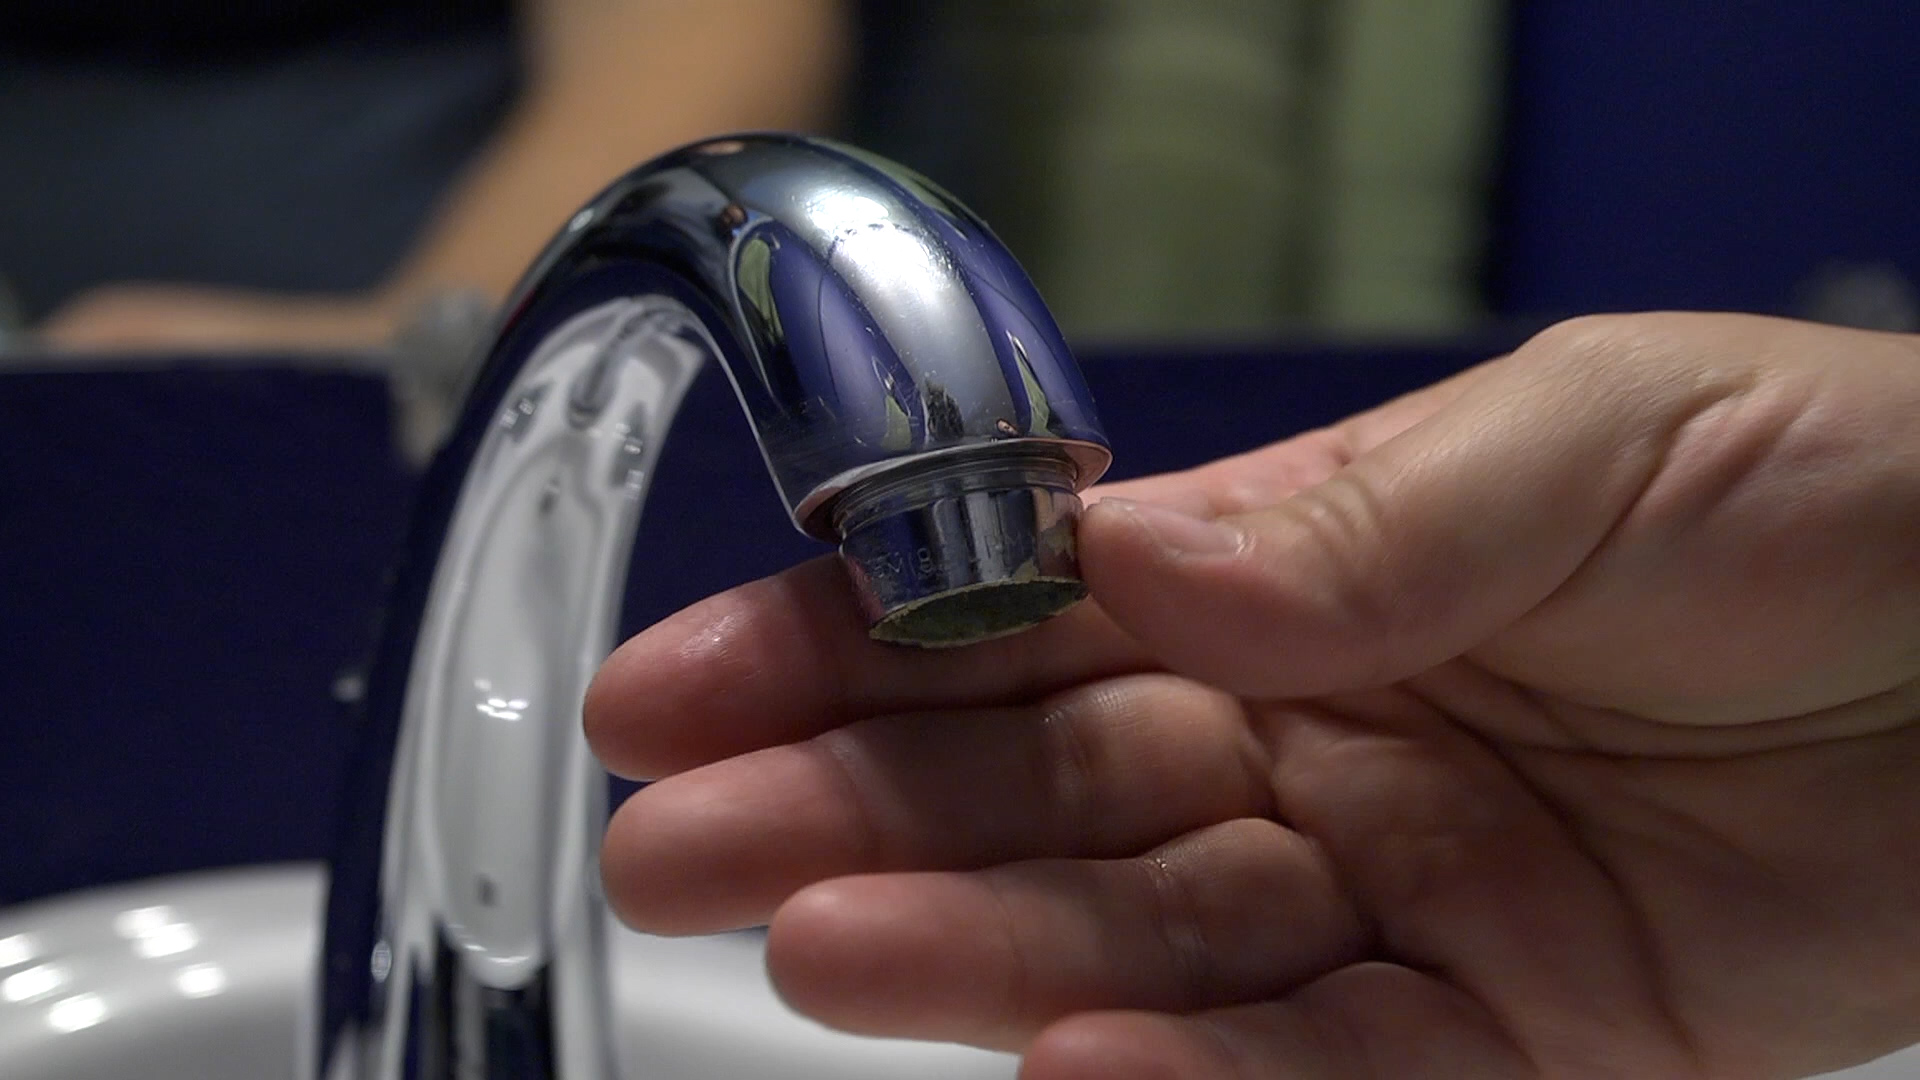
Step 2: Unscrew the Aerator
Most aerators twist off by hand. Turn counterclockwise while gripping firmly.
If it feels stuck:
- Wrap it with a cloth
- Use pliers gently
- Avoid squeezing too hard
Older faucets often have mineral buildup locking the aerator in place. A warm vinegar-soaked cloth around the faucet tip for 10 minutes usually loosens it.
Step 3: Keep Parts Organized
Some aerators contain several tiny pieces inside. Lay them on a towel in the exact order you removed them.
I once rushed this step and spent 15 minutes trying to reassemble the pieces correctly.
Best Methods to Clean Sink Aerator Parts
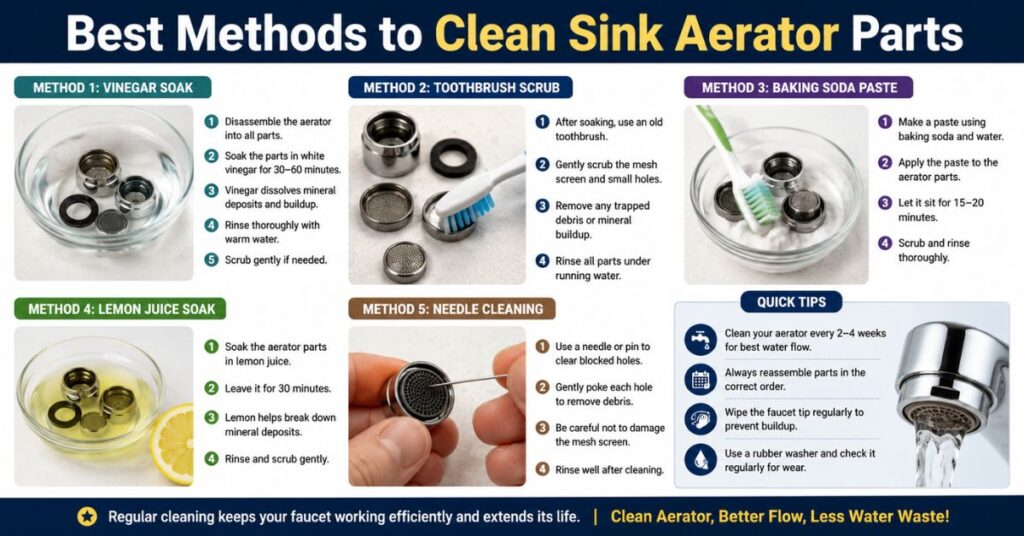
Different levels of buildup need different cleaning methods. Light debris may rinse off quickly, while hard water deposits need soaking.
Vinegar Soak Method
This is my favorite way to clean sink aerator buildup because it removes mineral deposits without harsh chemicals.
How to Do It
- Fill a bowl with white vinegar
- Place aerator parts inside
- Soak for 30 minutes
- Scrub gently with toothbrush
- Rinse thoroughly with warm water
The vinegar dissolves calcium and lime buildup naturally.
For Heavy Mineral Deposits
Sometimes one soak is not enough. If the mesh still looks clogged:
- Soak overnight
- Use a toothpick to clear holes
- Rinse again under strong water pressure
Avoid metal brushes because they can damage the screen.
Quick Comparison of Cleaning Methods
| Cleaning Method | Best For | Time Needed | Difficulty |
| Vinegar soak | Mineral buildup | 30 minutes | Easy |
| Dish soap rinse | Light dirt | 5 minutes | Very easy |
| Toothpick cleaning | Blocked holes | 10 minutes | Easy |
| Deep overnight soak | Severe buildup | Overnight | Moderate |
| Replacing aerator | Damaged screens | 15 minutes | Easy |
How to Clean Sink Aerator Without Removing It
Sometimes the aerator is stuck or difficult to remove. In that case, you can still improve water flow.
Plastic Bag Vinegar Trick
This method works surprisingly well.
Steps
- Fill a small plastic bag with vinegar
- Place it around faucet head
- Secure with rubber band
- Leave for 1 hour
- Remove and run hot water
This loosens surface buildup even if the aerator stays attached.
I used this method in a rental apartment because the faucet was old and fragile.
Common Mistakes People Make
Many people accidentally damage their faucet while trying to clean sink aerator parts too aggressively.
Using Too Much Force
Pliers can scratch finishes or crush the aerator if squeezed hard.
Forgetting Part Order
Tiny washers and mesh screens must go back correctly.
Skipping the Rinse
Leftover vinegar or debris can continue affecting water flow.
Ignoring Rubber Washers
Small rubber rings wear out over time. Replace them if cracked.
What is the recommended frequency of sink aerator cleaning?
The answer depends on water quality and faucet use.
General Cleaning Schedule
- Every month for hard water homes
- Every 2–3 months for normal water
- More often in kitchens with heavy grease use
In my kitchen, I notice buildup faster because cooking oils and food particles seem to collect around the faucet.
Hard Water vs Soft Water Homes
Hard water creates mineral deposits much faster.
Signs of Hard Water
- White chalky residue
- Stiff towels after washing
- Soap not lathering well
- Frequent faucet buildup
If your home has hard water, regular maintenance becomes more important.
When You Should Replace the Aerator
Sometimes cleaning alone is not enough.
Signs You Need a New Aerator
- Torn mesh screen
- Rust damage
- Cracks
- Persistent clogging
- Uneven flow after cleaning
Fortunately, replacement aerators are inexpensive and available at most hardware stores.
Bring the old aerator with you when shopping because faucet sizes vary.
Kitchen Sink Aerator vs Bathroom Sink Aerator
The cleaning process stays mostly the same, but buildup patterns differ.
Kitchen Faucet Aerators
Kitchen aerators often collect:
- Grease particles
- Food debris
- Soap residue
Bathroom Faucet Aerators
Bathroom faucets usually collect:
- Toothpaste residue
- Hard water minerals
- Soap buildup
My bathroom faucet clogs slower than my kitchen one because it gets less heavy use.
Natural Cleaning Solutions That Work
Some homeowners prefer avoiding strong cleaners.
Safe Natural Options
- White vinegar
- Lemon juice
- Baking soda paste
I personally avoid bleach because it can damage certain finishes and creates strong fumes in small bathrooms.
Preventing Future Sink Aerator Buildup
Prevention saves time and keeps faucets flowing properly longer.
Helpful Habits
- Wipe faucet tips weekly
- Run hot water regularly
- Avoid grease near faucet openings
- Clean buildup before it hardens
These small habits make the next cleaning much easier.
Why Water Pressure Improves Instantly
Many people think low pressure means pipe problems. Often, the blockage sits only inside the aerator.
The mesh screen traps:
- Sediment
- Sand particles
- Rust flakes
- Mineral deposits
Once removed, water moves freely again.
The first time I successfully clean sink aerator parts, I was shocked at how powerful the faucet became afterward.
Simple Maintenance Routine I Personally Follow
Over the years, I developed a routine that keeps my faucets working smoothly.
My Easy Routine
- Quick wipe every week
- Vinegar soak every month
- Deep clean every few months
- Replace damaged aerators immediately
This prevents surprise plumbing frustrations later.
Conclusion
Taking a few minutes to clean sink aerator buildup can completely change how your faucet performs. Weak flow, messy spraying, and mineral crust often disappear after one simple cleaning session. I used to assume faucet problems required expensive repairs, but now I check the aerator first every single time.
A quick vinegar soak, gentle scrub, and proper rinse usually restore strong water pressure fast. Even better, regular cleaning helps faucets last longer and keeps daily kitchen or bathroom tasks less frustrating.
If your sink has been acting up lately, try cleaning the aerator before calling a plumber. You might solve the problem in under 20 minutes using supplies already at home.
Low water pressure, uneven spray, and sputtering water are the most common signs.
White vinegar is generally safe for short soaking periods. Avoid soaking delicate finishes for extremely long times.
Thirty minutes works for light buildup. Heavy mineral deposits may need overnight soaking.
The aerator may be damaged, or the plumbing issue could exist deeper inside the faucet or pipes.
Yes. Many aerators unscrew by hand and only require vinegar and a toothbrush for cleaning.

Muhammad Ahad — Passionate writer sharing informative, engaging, and easy-to-read articles across different topics. Focused on delivering valuable content that helps readers learn, explore, and stay inspired every day.
1 thought on “Clean Sink Aerator: Easy Fix for Better Water Flow”