

Introduction
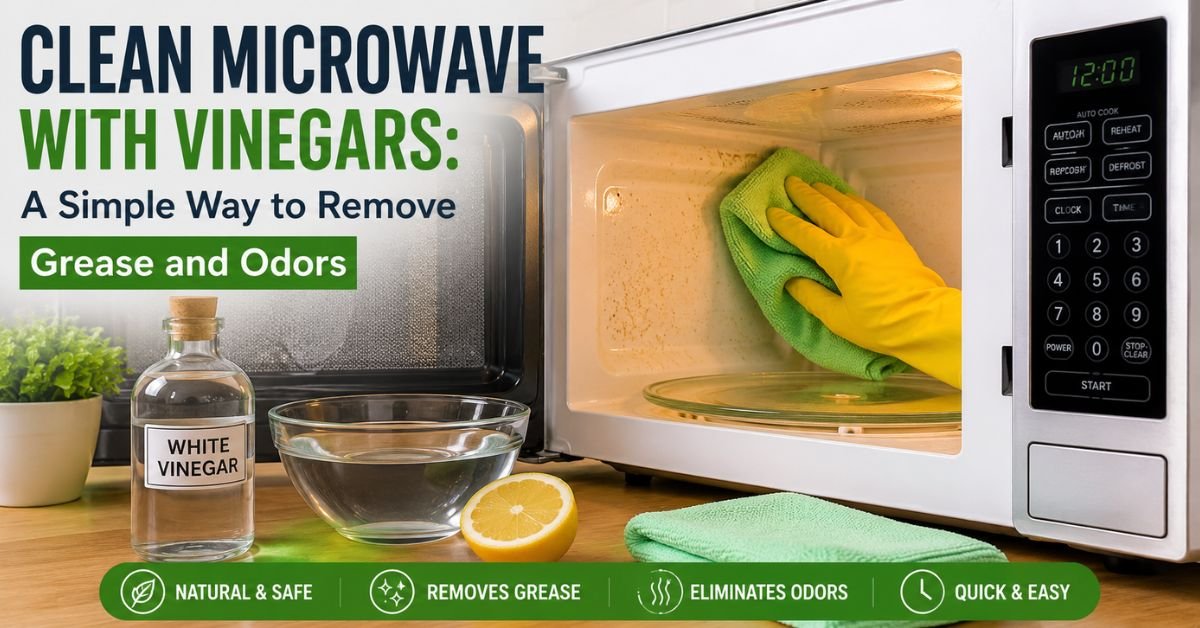
I used to avoid cleaning my microwave until the splattered sauce and lingering food smells became impossible to ignore. Then I discovered that the easiest solution was already sitting in my kitchen cabinet. Learning how to clean microwave with vinegars changed my cleaning routine completely. Steam does most of the cleaning, leaving the microwave fresh and spotless with very little effort instead of scrubbing for twenty minutes.
At Clean Home Craft, we enjoy testing practical cleaning methods that rely on everyday household ingredients rather than expensive specialty products. Vinegar has consistently been one of the most reliable options because it loosens dried food, cuts through grease, and helps remove unpleasant odors naturally.
Whether you use your microwave several times a day or only occasionally, this guide shares simple techniques, helpful tips, and common mistakes to avoid so your appliance stays clean and works efficiently.
Why Vinegar Works So Well
White vinegar contains mild acetic acid that safely breaks down grease, softens dried food residue, and neutralizes stubborn odors. Unlike many chemical cleaners, it leaves behind no harmful residue when used correctly.
Some of the biggest advantages include:
- Affordable and widely available
- Safe for most microwave interiors
- Removes grease naturally
- Helps eliminate food odors
- Requires very little scrubbing
- Environmentally friendly
Although vinegar has a noticeable smell while heating, the odor disappears quickly once the microwave dries.
Benefits of Clean Microwave With Vinegar
Choosing to clean microwave with vinegar offers several practical benefits beyond improving appearance.
Removes Greasy Splatters
Steam softens grease that sticks to the walls, ceiling, and door, making it easy to wipe away.
Eliminates Bad Smells
Microwaves often absorb odors from popcorn, fish, garlic, curry, and reheated leftovers. Vinegar neutralizes many of these lingering smells instead of simply masking them.
Saves Cleaning Time
Instead of scrubbing hardened food stains immediately, the steam loosens debris first, making cleanup much faster.
Reduces Chemical Exposure
Many commercial cleaners contain fragrances or strong chemicals. Vinegar provides a simple alternative for routine maintenance.
Supplies You’ll Need
Fortunately, you probably already have everything required.
- White distilled vinegar
- Warm water
- Microwave-safe bowl
- Microfiber cloth
- Soft sponge
- Dry towel
- Optional: lemon slices for extra freshness
Avoid using abrasive scrubbers because they may scratch the microwave interior.
How to Clean Microwave With Vinegar Step by Step
Here are some easy steps to follow for the best results.
Step 1: Prepare the Cleaning Solution
Fill a microwave-safe bowl with:
- 1 cup water
- 2–3 tablespoons white vinegar
Mix gently before placing it in the center of the microwave.
Step 2: Heat the Solution
Run the microwave on high power for 4–5 minutes.
The water should boil and create steam throughout the appliance.
Step 3: Let the Steam Work
Do not open the microwave immediately.
Close the door for five more minutes.
During this time, steam softens dried food and greasy splatters.
Step 4: Carefully Remove the Bowl
Use oven mitts because the bowl will be hot.
Set it on a heat-resistant surface.
Step 5: Wipe Every Surface
Using a damp microfiber cloth, clean:
- Ceiling
- Walls
- Bottom
- Glass door
- Turntable
- Door seals
Most stains should wipe away with little effort.
Step 6: Clean the Turntable Separately
Remove the glass tray.
Wash it with warm soapy water, rinse thoroughly, and dry before replacing it.
Step 7: Dry the Interior
Finish by wiping the microwave with a dry cloth to prevent water spots.
Quick Cleaning Table
| Step | What to Do | Time Needed |
| Prepare solution | Mix water and vinegar | 2 minutes |
| Heat mixture | Microwave until steaming | 4–5 minutes |
| Let steam sit | Keep door closed | 5 minutes |
| Wipe interior | Remove grease and stains | 5 minutes |
| Wash turntable | Clean separately | 3 minutes |
| Dry surfaces | Prevent streaks | 2 minutes |
Dealing With Tough Microwave Stains
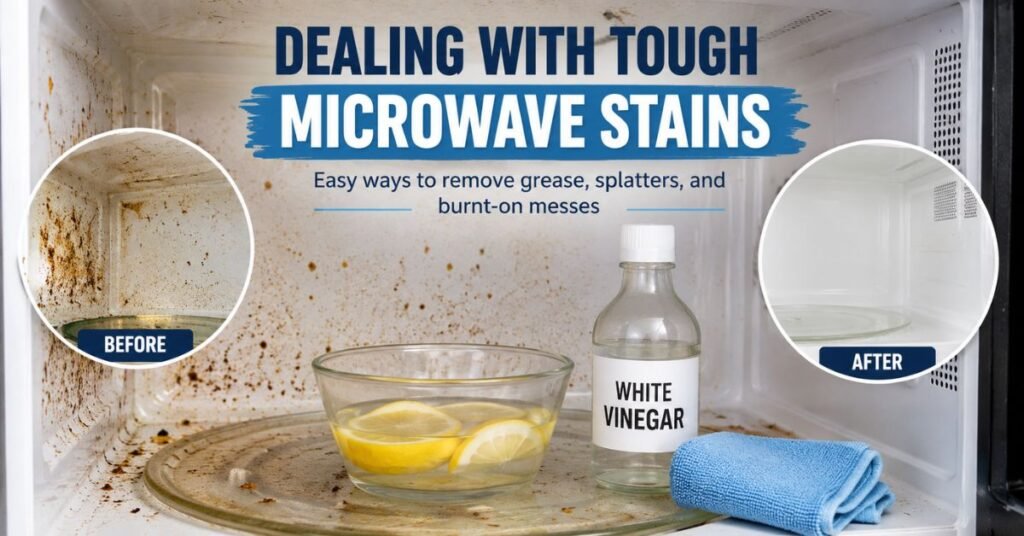
Sometimes, food splatters sit inside the microwave for weeks and become difficult to remove. Fortunately, vinegar steam usually softens even stubborn messes.
Burned Food Residue
If burnt food remains after the first cleaning:
- Repeat the steaming process.
- Let the steam sit for another 5–10 minutes.
- Wipe gently with a soft sponge.
- Avoid metal scrubbers, which can damage the interior coating.
Sticky Grease
Grease from butter, cheese, or cooking oils may require a little extra attention.
Dip a microfiber cloth into the warm vinegar solution and place it over the greasy area for a few minutes before wiping. This helps dissolve the buildup without excessive scrubbing.
Dried Sauce Splatters
Tomato sauce and similar foods often leave stubborn spots. Steam first, then gently rub the area in small circles using a soft cloth until the stain lifts.
Common Mistakes to Avoid
Even though vinegar is simple to use, a few mistakes can reduce its effectiveness.
Using Too Much Vinegar
More vinegar doesn’t necessarily clean better. A small amount mixed with water produces enough steam while keeping the smell manageable.
Skipping the Waiting Time
Opening the microwave immediately after heating lets the steam escape before it softens dried food. Waiting five minutes makes a noticeable difference.
Forgetting the Door Seals
Food particles often collect around the rubber seals. Wipe them carefully with a damp cloth to keep the door closing properly.
Using Harsh Scrubbing Pads
Abrasive pads can scratch the microwave’s interior coating, making future cleaning more difficult.
Ignoring Regular Maintenance
Cleaning only when the microwave looks dirty allows stains to harden. Weekly maintenance keeps cleaning quick and easy.
How Often Should You Clean Microwave With Vinegar?
The ideal schedule depends on how often you use your microwave.
- Daily use: Light wipe every few days and deep clean once a week.
- Moderate use: Deep clean every two weeks.
- Occasional use: Clean once a month or whenever spills occur.
Cleaning spills immediately after they happen prevents stubborn stains from developing.
Extra Tips for a Fresh-Smelling Microwave
Beyond routine cleaning, these habits help keep your microwave looking and smelling fresh.
- Cover food with a microwave-safe lid to reduce splatters.
- Wipe fresh spills while they’re still warm.
- Leave the door open for a few minutes after cleaning to allow moisture to evaporate.
- Wash the turntable regularly.
- Avoid overheating foods that easily explode or splatter.
One helpful tip we’ve shared on Clean Home Craft is to make microwave cleaning part of your weekly kitchen routine instead of waiting until stains become difficult to remove. A few minutes of maintenance can save much more time later.
Vinegar vs. Commercial Microwave Cleaners
| Feature | Vinegar | Commercial Cleaner |
| Cost | Very affordable | Usually more expensive |
| Removes grease | Excellent | Excellent |
| Odor removal | Very good | Good |
| Chemical residue | None when wiped clean | May require extra rinsing |
| Eco-friendly | Yes | Depends on the product |
| Readily available | Almost always | Must be purchased |
For everyday cleaning, vinegar is often all you need. Commercial cleaners may be useful only for heavy grease buildup or neglected appliances.
Conclusion
Taking a few minutes to clean microwave with vinegars can make a noticeable difference in both the appearance and freshness of your kitchen. This simple method uses steam to loosen dried food, dissolve grease, and neutralize unpleasant odors without relying on harsh chemicals. With just water, white vinegar, and a microfiber cloth, you can keep your microwave looking clean and performing at its best.
The key is consistency. Wiping up fresh spills and giving your microwave a quick vinegar steam treatment every week prevents stubborn buildup and reduces the need for heavy scrubbing. It’s an affordable, eco-friendly cleaning habit that fits easily into any household routine.
For more practical home cleaning guides, easy kitchen maintenance tips, and tested household solutions, visit CleanHomeCraft.com. At Clean Home Craft, we’re committed to sharing simple methods that help you keep your home cleaner with less effort.
Yes. White vinegar diluted with water is generally safe for most microwave interiors, including glass and enamel surfaces. Always check your appliance manual for any manufacturer-specific recommendations.
White distilled vinegar is the better choice because it leaves less residue and has a milder color. Apple cider vinegar may leave slight staining or a stronger smell.
The vinegar smell usually fades within a few minutes. Leaving the microwave door open briefly helps fresh air circulate.
Most microwaves require 4–5 minutes, or until the water begins producing plenty of steam. Larger microwaves may need an extra minute.
For light to moderate burnt residue, yes. Extremely heavy carbon buildup may require repeating the steaming process or gently scrubbing with a soft sponge.

Muhammad Ahad — Passionate writer sharing informative, engaging, and easy-to-read articles across different topics. Focused on delivering valuable content that helps readers learn, explore, and stay inspired every day.
1 thought on “Clean Microwave With Vinegars: A Simple Way to Remove Grease and Odors”