

Introduction
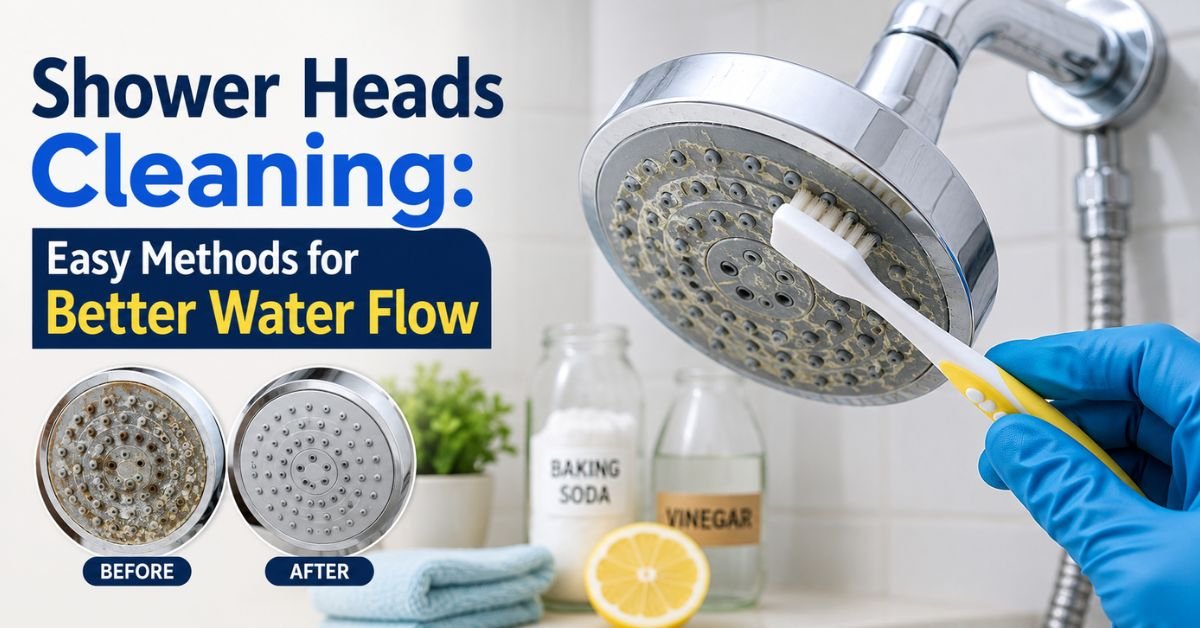
A neglected shower head can slowly turn a relaxing shower into a frustrating experience. Weak water pressure, uneven spray patterns, and mineral buildup often develop so gradually that many homeowners do not notice the problem right away. That is why shower heads cleaning should be part of every regular home maintenance routine.
I learned this firsthand when my shower started spraying water in every direction except where I wanted it. Instead of replacing the fixture, I spent less than an hour cleaning it. The difference was remarkable. Water pressure improved immediately, and the shower felt almost new again.
At Clean Home Craft, we regularly test practical household cleaning methods that save time and money. In this guide, I will share proven techniques, simple tools, and helpful maintenance tips that make shower heads cleaning easy for any homeowner.
Why Shower Heads Get Dirty
Most shower heads accumulate buildup from minerals found in water. Hard water contains calcium and magnesium deposits that gradually clog tiny spray holes.
Common causes of shower head buildup include:
- Hard water minerals
- Soap residue
- Mold and mildew
- Rust particles
- Sediment from old plumbing
As these materials collect inside the fixture, water flow becomes restricted. In some cases, bacteria can also develop in moist areas that are rarely cleaned.
Signs Your Shower Head Needs Cleaning
You do not have to wait until the shower completely stops working properly.
Watch for these warning signs:
- Reduced water pressure
- Uneven spray patterns
- Water spraying sideways
- White or green mineral deposits
- Strange odors
- Visible mold around nozzles
- Longer rinsing times
When these symptoms appear, shower heads cleaning should move to the top of your household maintenance list.
Benefits of Regular Shower Heads Cleaning
Cleaning your shower head regularly offers several advantages.
Better Water Pressure
Mineral deposits block water pathways. Removing them restores stronger and more consistent flow.
Improved Hygiene
A clean shower head reduces the chance of mold, mildew, and bacteria buildup.
Longer Fixture Life
Regular maintenance helps prevent corrosion and extends the lifespan of your shower fixture.
Water Efficiency
A clogged shower head often wastes water through irregular spraying. Clean nozzles distribute water more effectively.
Better Shower Experience
Few things improve a daily routine faster than restoring a smooth and even spray pattern.
Tools and Supplies You Need
Most homeowners already have these items available.
Basic Cleaning Supplies
- White vinegar
- Baking soda
- Soft toothbrush
- Plastic bag
- Rubber band
- Microfiber cloth
- Small bowl
- Needle or toothpick
Optional Supplies
- Adjustable wrench
- Dish soap
- Lemon juice
- Protective gloves
These simple tools make shower heads cleaning affordable and convenient.
Shower Heads Cleaning Methods Compared
| Cleaning Method | Best For | Difficulty | Time Required |
| Vinegar Soak | Mineral buildup | Easy | 30–60 minutes |
| Vinegar and Baking Soda | Heavy deposits | Easy | 45–90 minutes |
| Manual Scrubbing | Surface dirt | Easy | 15–20 minutes |
| Deep Disassembly | Severe clogging | Moderate | 60–90 minutes |
| Lemon Juice Treatment | Light mineral stains | Easy | 30–45 minutes |
How to Clean a Shower Head Without Removing It
This is the easiest method and the one I use most often.
Step 1: Fill a Plastic Bag With Vinegar
Pour enough white vinegar into a plastic bag to fully cover the shower head.
Step 2: Secure the Bag
Place the bag around the shower head and secure it tightly using a rubber band.
Step 3: Let It Soak
Allow the fixture to soak for at least 30 minutes. For heavy buildup, leave it overnight.
Step 4: Remove and Rinse
Take off the bag and run hot water through the shower head for several minutes.
Step 5: Scrub Remaining Deposits
Use a toothbrush to remove any remaining mineral residue.
This method works especially well for routine shower heads cleaning.
How to Remove and Deep Clean a Shower Head
Sometimes surface soaking is not enough.
Disconnect the Fixture
Turn off the water supply if needed. Carefully unscrew the shower head using an adjustable wrench.
Protect the finish with a cloth before tightening the wrench.
Prepare a Cleaning Solution
Mix:
- 2 cups white vinegar
- 1 tablespoon baking soda
Place the shower head into the solution.
Soak Thoroughly
Leave it submerged for one to two hours.
Clean the Nozzles
Use a toothpick or needle carefully to clear clogged spray holes.
Avoid excessive force that could damage rubber nozzles.
Rinse and Reinstall
Flush the fixture thoroughly with clean water before reinstalling.
Using Baking Soda for Extra Cleaning Power
Baking soda helps break down stubborn residue.
Make a Cleaning Paste
Combine:
- 3 tablespoons baking soda
- Small amount of water
Mix until a thick paste forms.
Apply the Paste
Spread the mixture over stained areas.
Scrub Gently
Use a toothbrush to clean around nozzles and decorative surfaces.
Rinse Completely
Run warm water over the shower head until all residue disappears.
This technique works particularly well on fixtures with visible staining.
Natural Alternatives to Vinegar
Some homeowners dislike the smell of vinegar.
Fortunately, several alternatives can help.
Lemon Juice
Natural citric acid dissolves mild mineral deposits.
Dish Soap Solution
Useful for removing soap scum and surface grime.
Citric Acid Cleaner
Available in many grocery stores, citric acid provides strong mineral-removing power.
Hydrogen Peroxide
Can help eliminate mildew and sanitize surfaces.
Always test cleaning products on a small area first.
Common Mistakes During Shower Heads Cleaning
Many people accidentally make cleaning more difficult than necessary.
Avoid these mistakes:
- Using metal brushes
- Scratching nozzles with sharp tools
- Mixing incompatible chemicals
- Ignoring manufacturer instructions
- Leaving cleaning solutions on decorative finishes too long
- Forgetting to flush the fixture afterward
A gentle approach usually delivers the best results.
How Often Should You Clean a Shower Head?
The answer depends largely on your water quality.
Homes With Hard Water
Clean every month.
Moderate Water Conditions
Clean every two to three months.
Soft Water Areas
Clean every three to six months.
For more home cleaning ideas, readers of Clean Home Craft often prefer maintenance schedules that prevent buildup before it becomes a major problem.
Preventing Future Mineral Buildup
Prevention saves both time and effort.
Wipe After Use
A quick wipe with a microfiber cloth removes moisture before deposits form.
Install a Water Softener
Hard water treatment significantly reduces mineral accumulation.
Perform Monthly Vinegar Soaks
Short preventive treatments help avoid deep cleaning sessions.
Check Water Quality
Understanding your water hardness level can help determine the ideal cleaning schedule.
Inspect Regularly
Look for early signs of blockage before performance declines.
Cleaning Different Types of Shower Heads
Not all shower heads are built the same.
Fixed Shower Heads
Usually easiest to clean using a vinegar bag soak.
Handheld Shower Heads
Can often be removed and submerged directly in cleaning solution.
Rainfall Shower Heads
May require extra attention because of their larger spray surfaces.
High-End Decorative Fixtures
Follow manufacturer recommendations to avoid damaging special finishes.
Always verify cleaning instructions if your fixture includes unique coatings.
When It Is Better to Replace the Shower Head
Sometimes cleaning cannot solve every issue.
Consider replacement if:
- Severe corrosion is present
- Cracks appear in the fixture
- Internal components are damaged
- Water pressure remains poor after cleaning
- The shower head is extremely old
In many cases, however, a thorough shower heads cleaning session restores performance and delays replacement costs.
Conclusion
Regular shower heads cleaning helps maintain strong water pressure, improves hygiene, and extends the life of your fixture. Simple methods such as vinegar soaking, gentle scrubbing, and preventive maintenance can keep mineral deposits under control without expensive products or professional help.
By checking your shower head regularly and cleaning it before buildup becomes severe, you can enjoy a better shower experience every day. Visit CleanHomeCraft.com for more cleaning guides, household tips, and easy-to-follow tutorials that help keep your home fresh, clean, and running smoothly.
For light buildup, 30 minutes is often enough. Heavy mineral deposits may require several hours or overnight soaking.
Most metal and plastic shower heads tolerate vinegar well. However, certain specialty finishes may require manufacturer-approved cleaners.
Yes. Baking soda is a gentle cleaner that helps remove stains and mineral residue without causing damage.
Internal buildup may remain inside the fixture. Removing the shower head and performing a deep cleaning often solves the issue.
Black spots are often mold or mildew. Use vinegar, hydrogen peroxide, or a specialized bathroom cleaner to remove them safely.
A new fixture typically does not require immediate cleaning, but regular maintenance should begin within the first few months of use.

Muhammad Ahad — Passionate writer sharing informative, engaging, and easy-to-read articles across different topics. Focused on delivering valuable content that helps readers learn, explore, and stay inspired every day.
1 thought on “Shower Heads Cleaning: Easy Methods for Better Water Flow”